preloader
Art

Kinetic Membranes

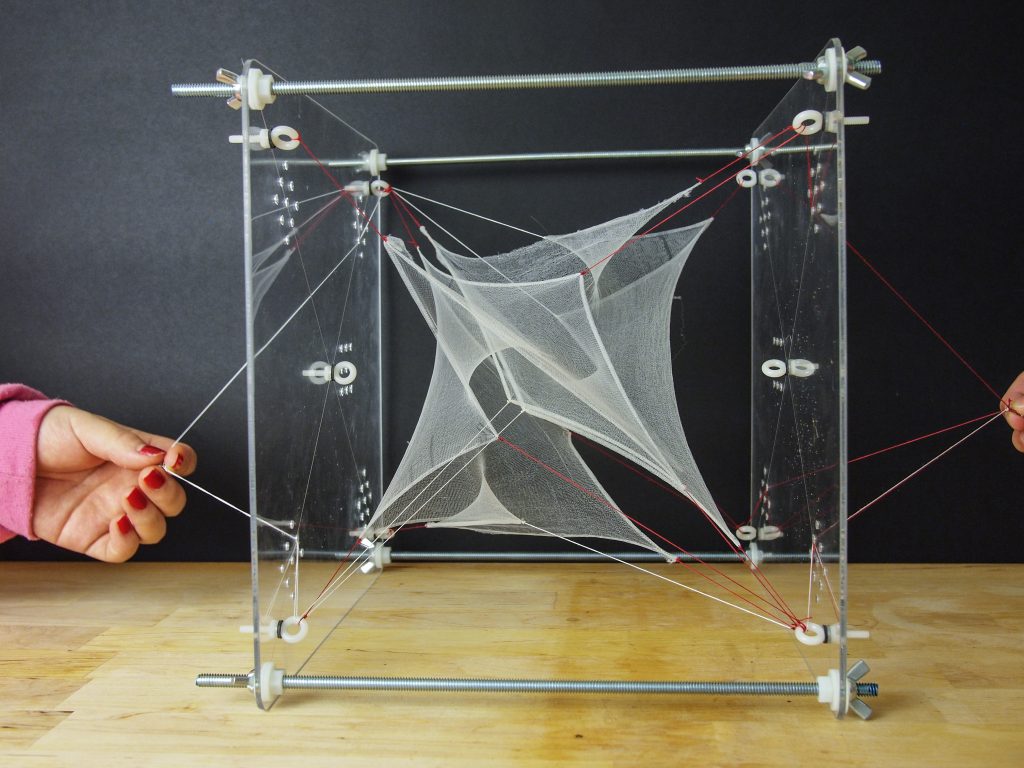
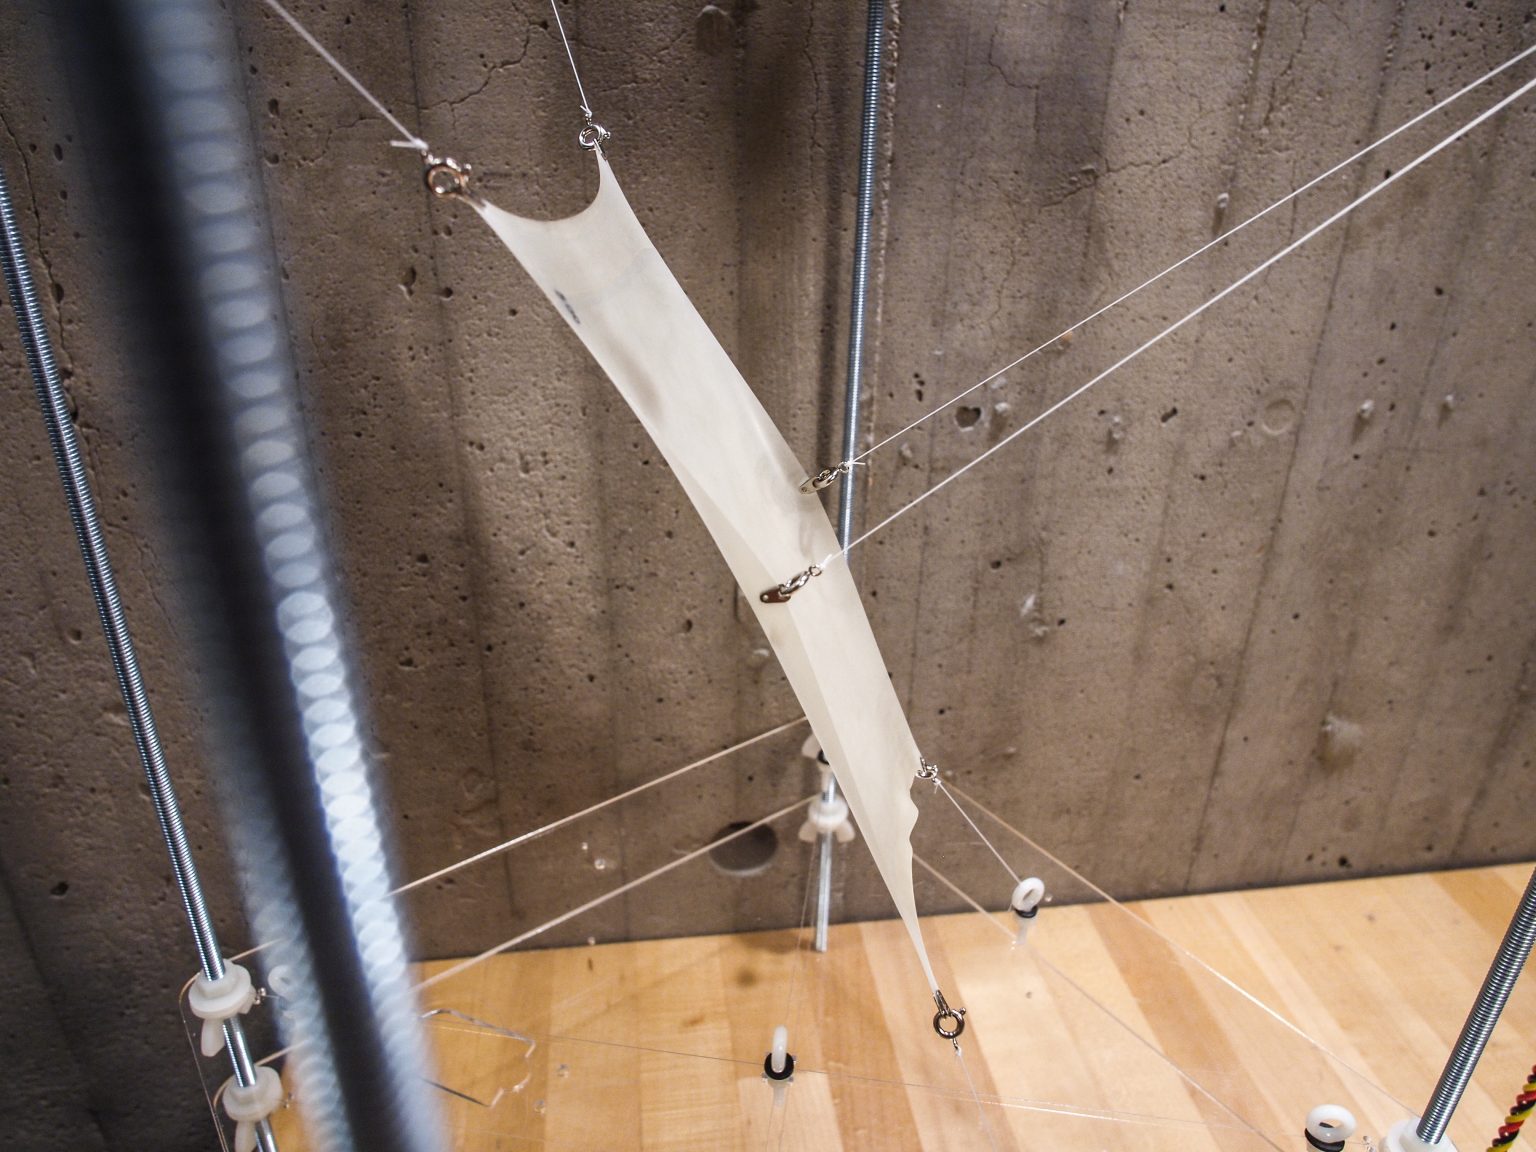
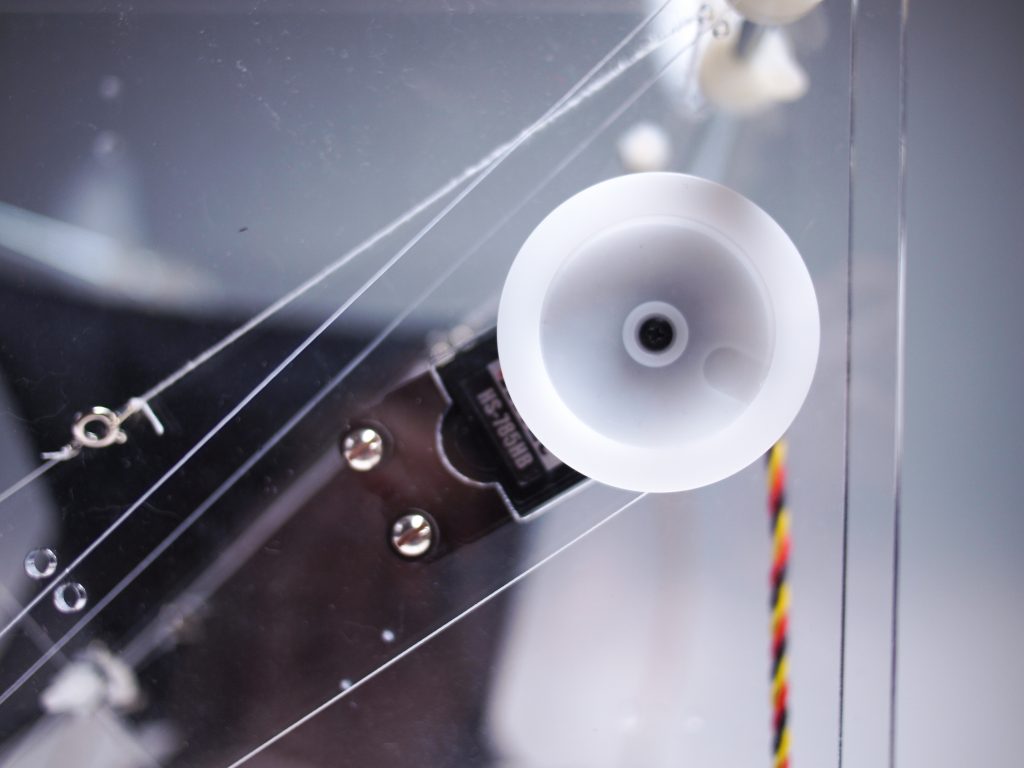
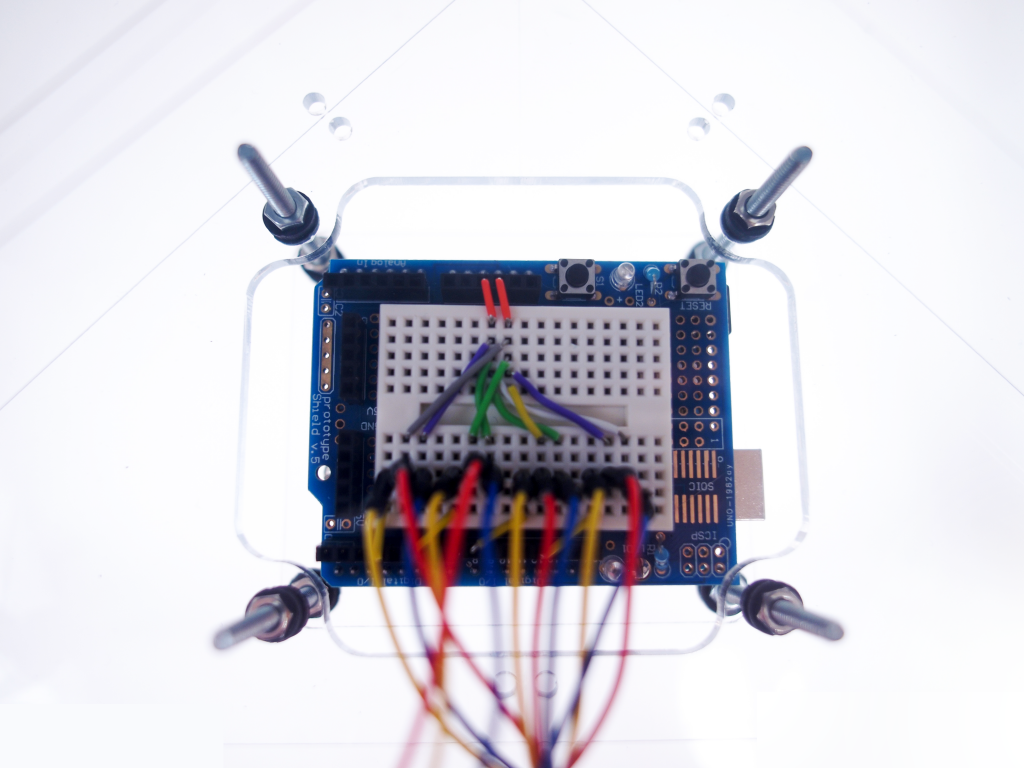
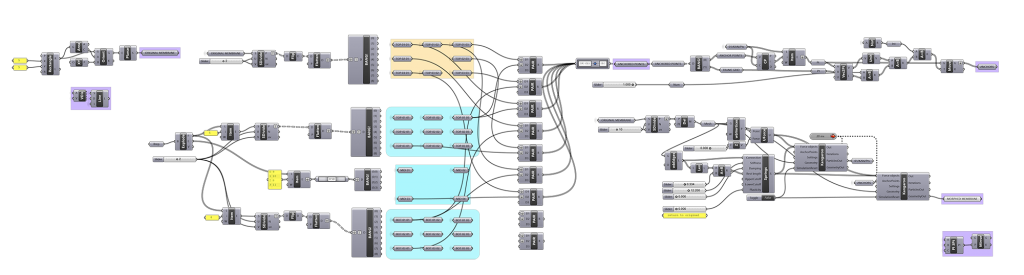
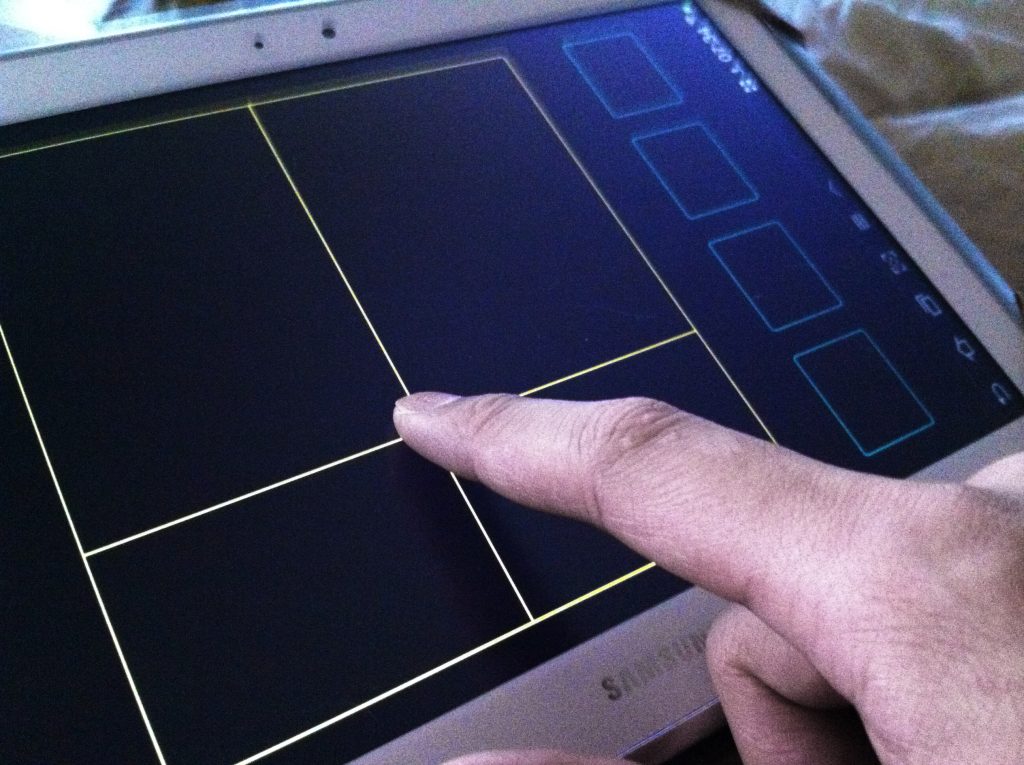
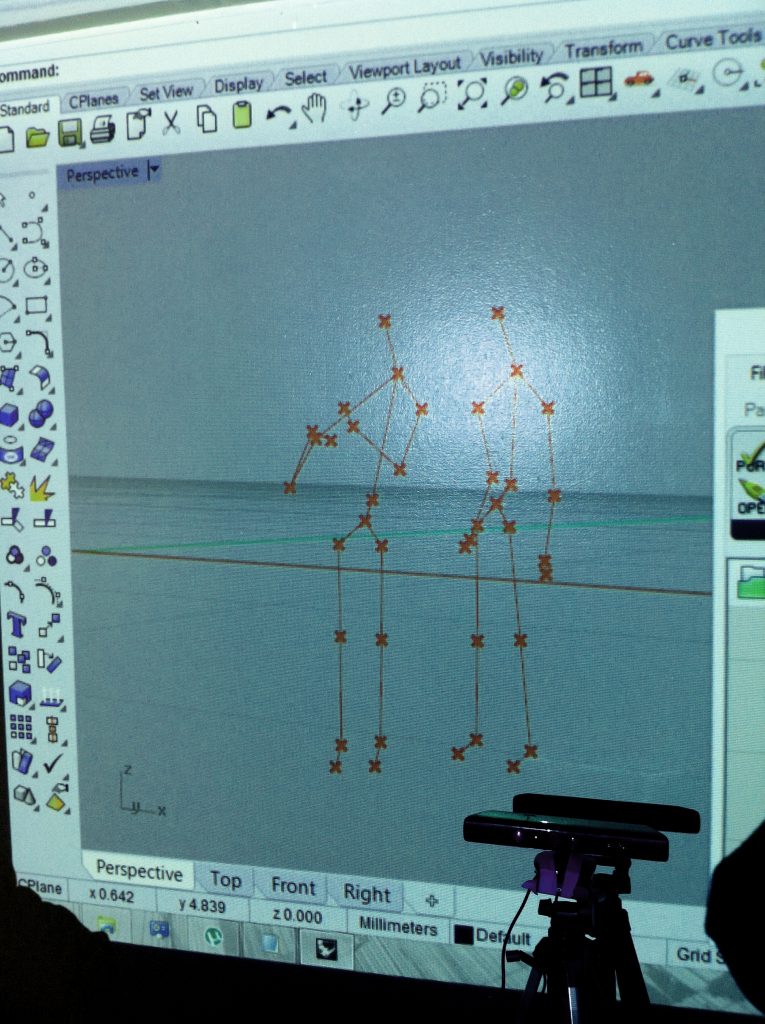
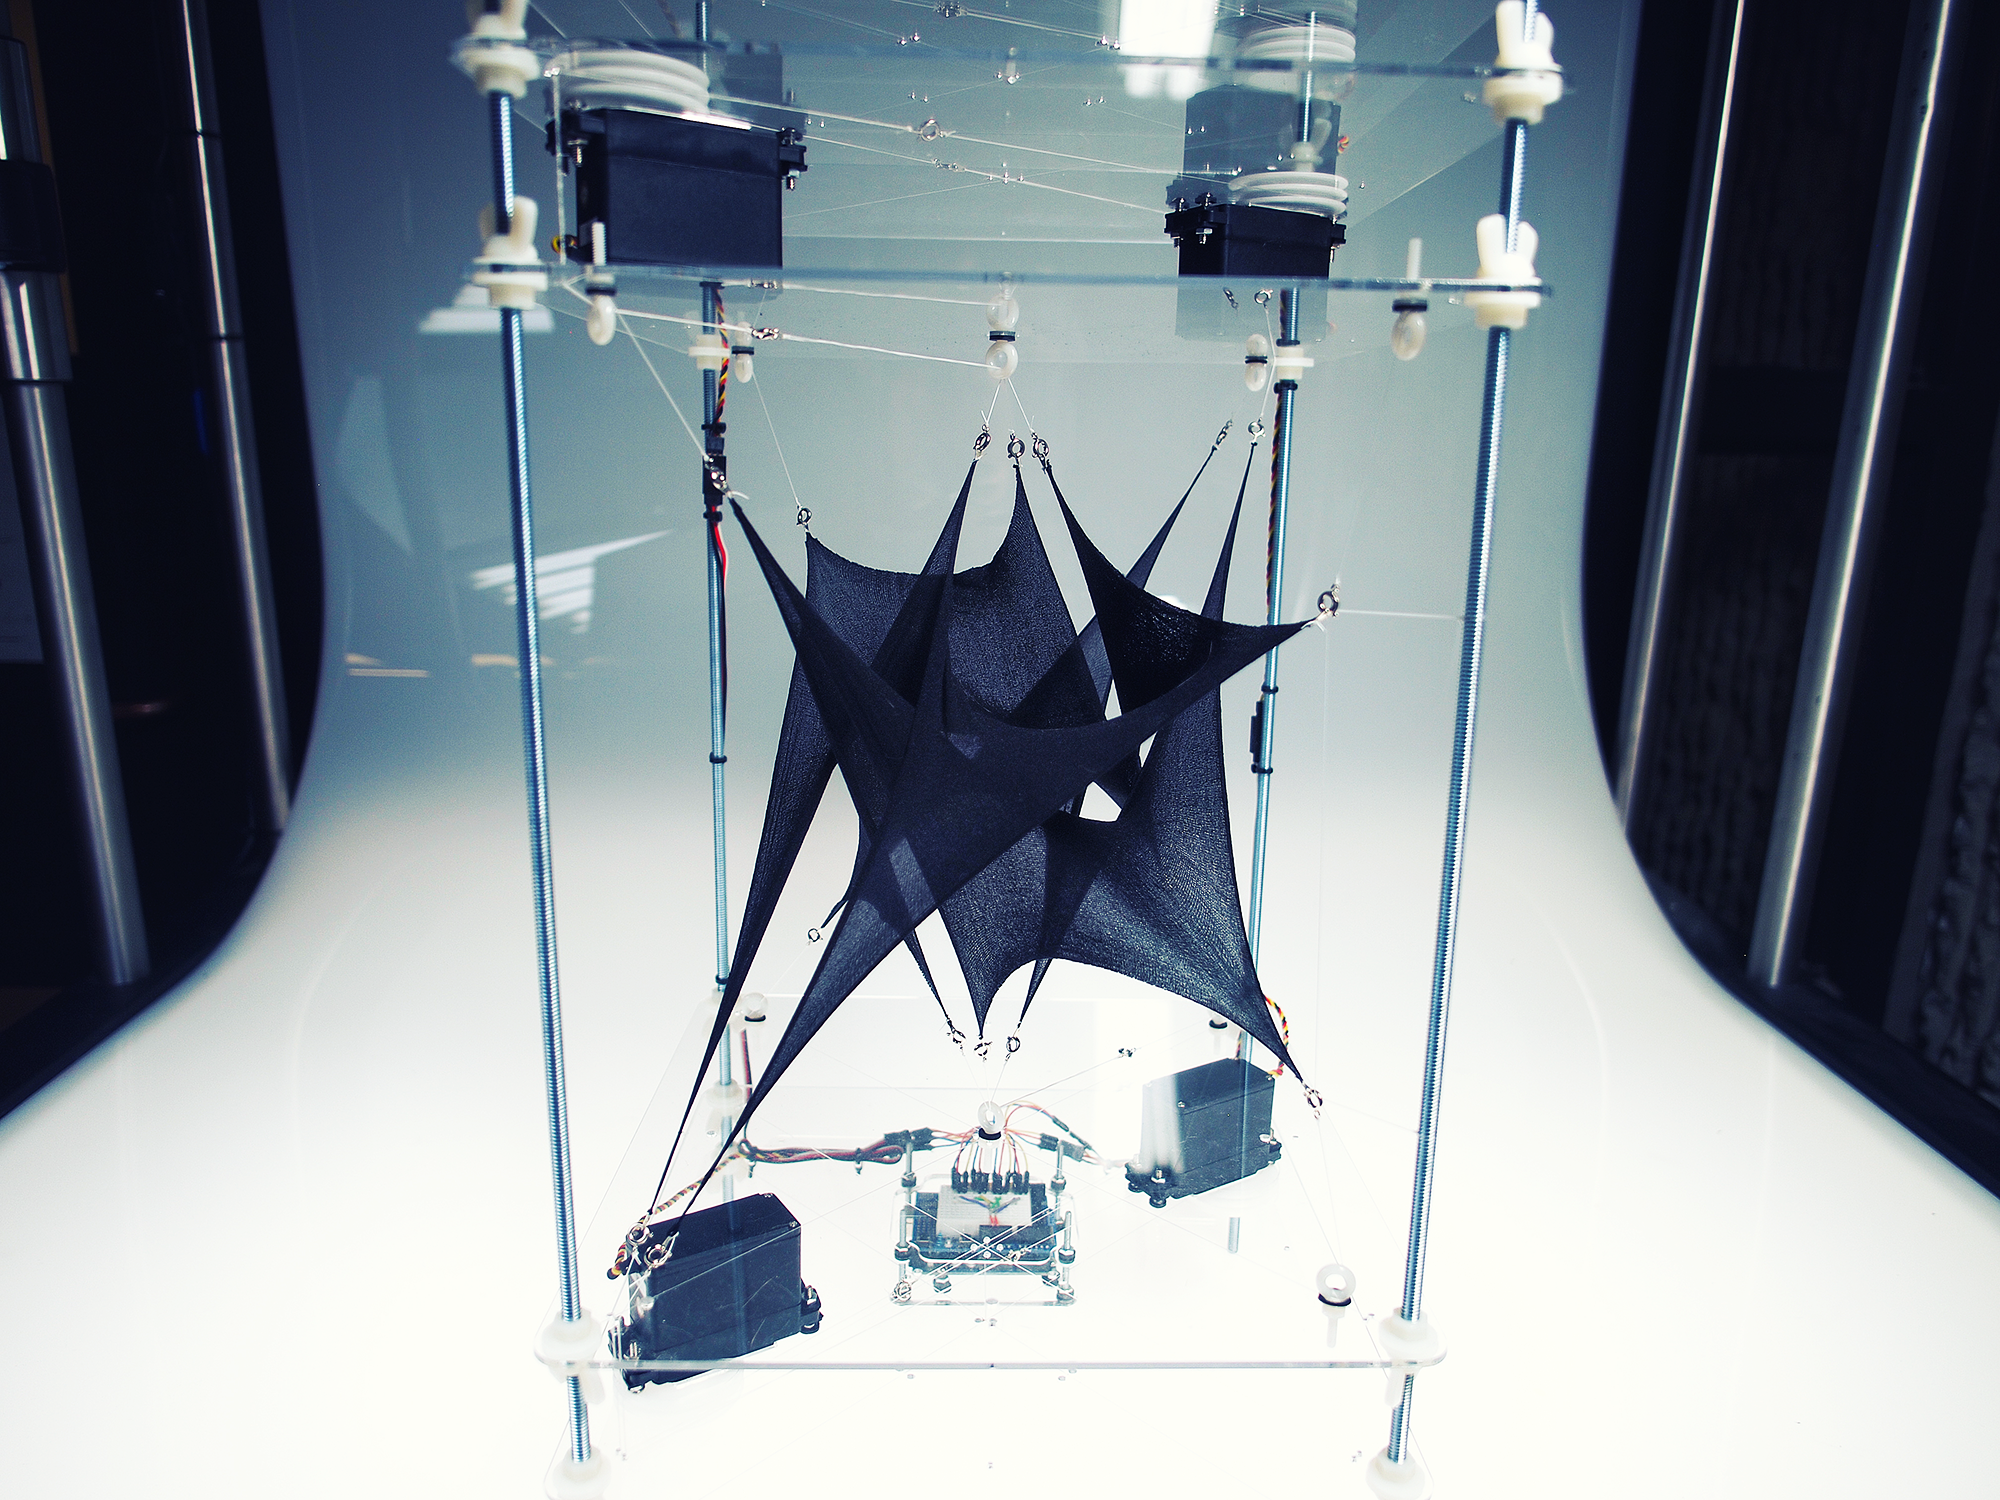
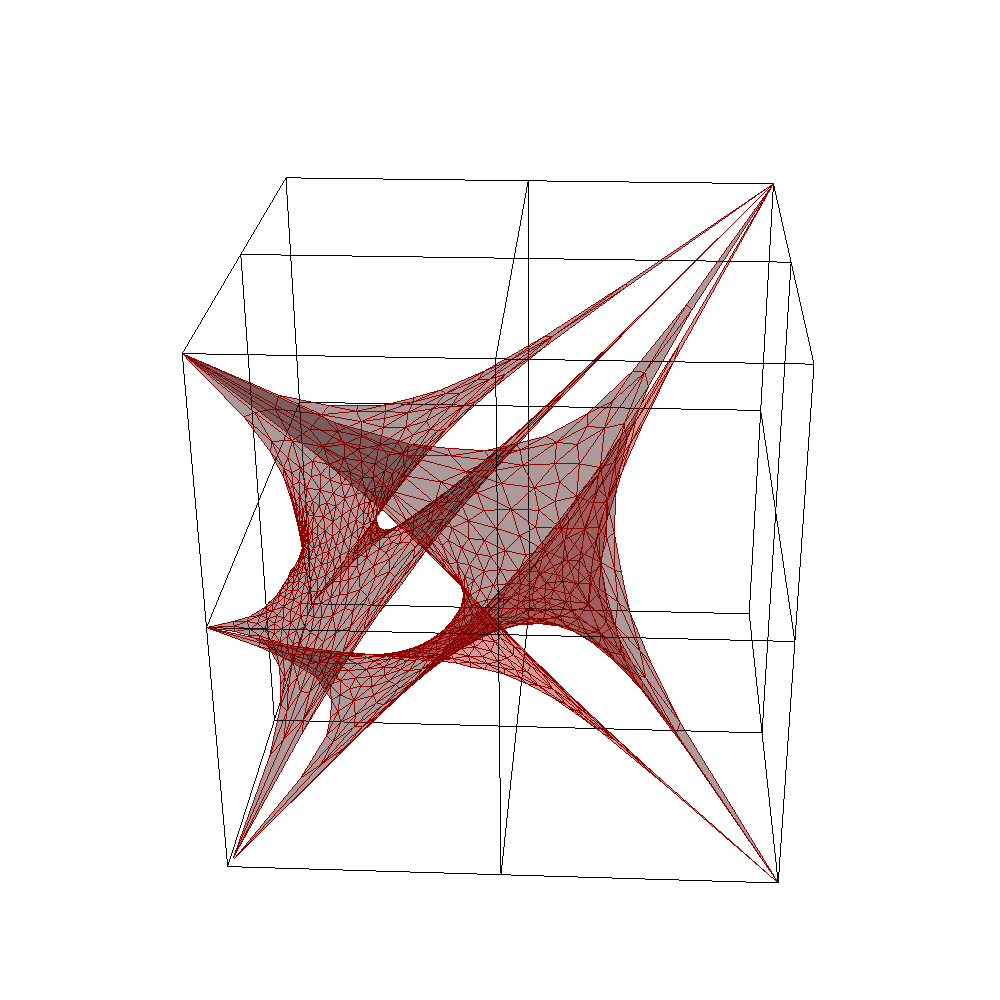
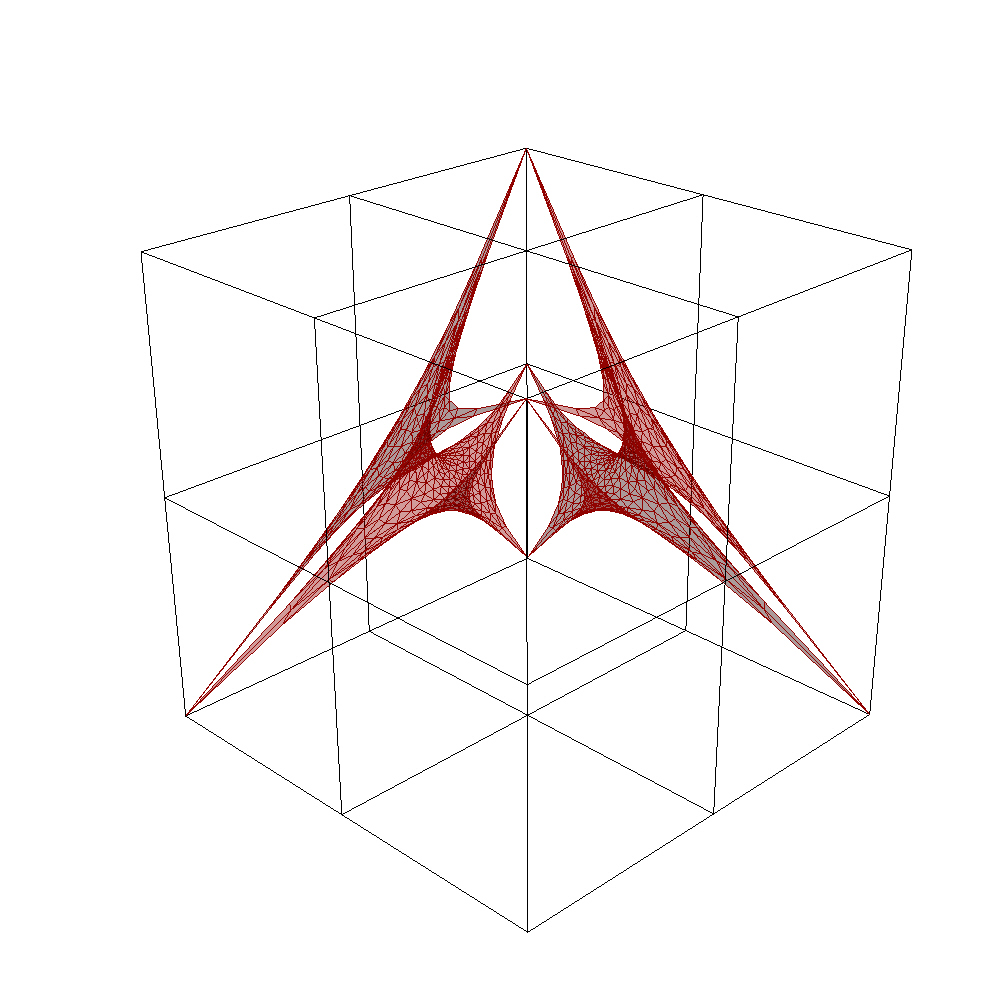
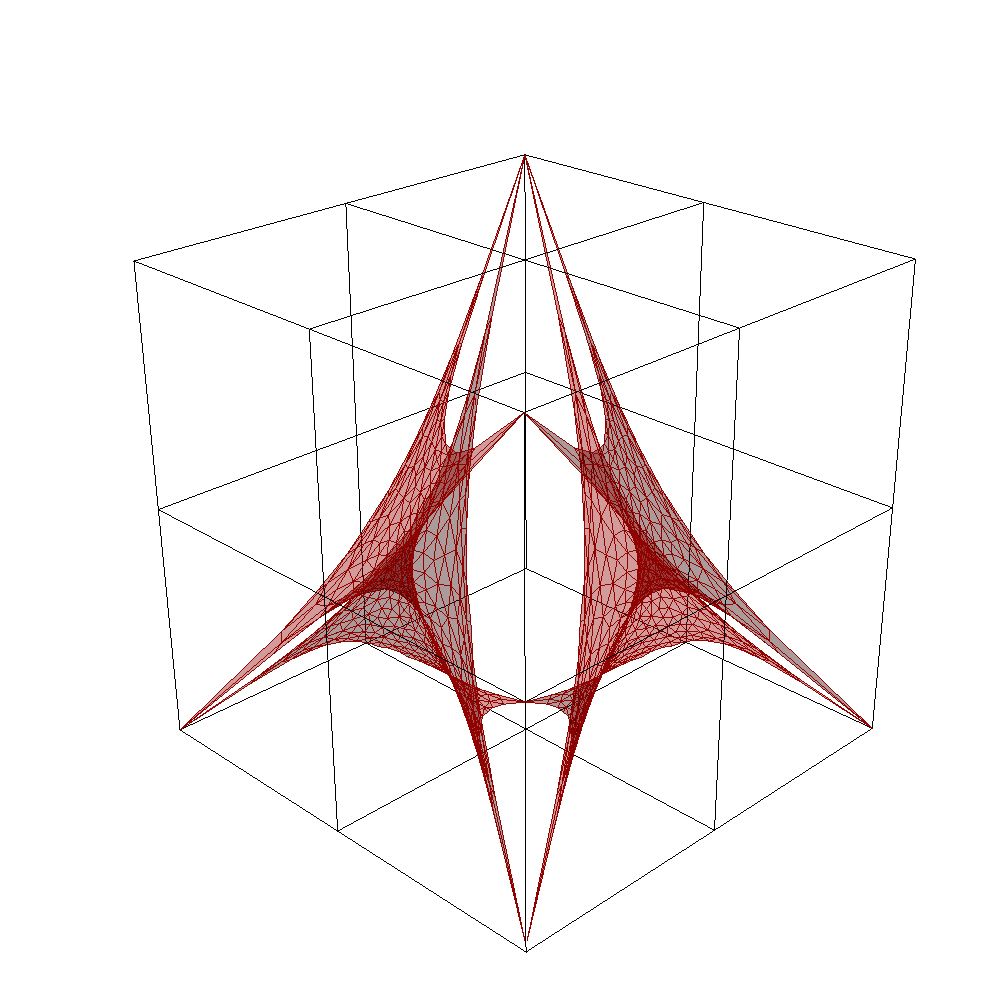
The Kinetic Membranes installation is the final model developed utilizing a collection of digital techniques to create an interactive, dynamic, and fluid form. This acts as a proof of concept for use in a large scale construct in which a space could be continually and wirelessly adjusted.

Task

The final prototype developed utilizing a collection of digital techniques to create an interactive, dynamic, and fluid form.

  • Client

    Academic - Yale

  • Tools

    Arduino, Servos, Nylon fabric, Rhino3D + Grasshopper, Kinect

Starting at the End.

The Exhibit.

Kinetic Membranes carries forth inspirations to develop architectural solutions which are not only fluid in formal conception – then subsequently plastic – but organic and fluid in its ability to adjust and adapt as an elastic organism for responsive environments.

The final product came about from experimentations with numerous prototypes to finalize materials, forms, inputs, and forms. 

This was presented to a panel of architects and fellow students at Yale School of Architecture as part of the Design Reconnaissance course, where students sought outside technologies to inform Architectural innovations.

The Process.

Prototypes

The initial studies included tests of form, material, and electronics. 

Along with iterative ideation, prototyping allows for unexpected design moments and testing of crucial elements. With so many moving parts, this required each of the different elements to be worked out to make sure the final product functions as desired.

Prototypes.

Form.

Early study models of form were created to test static versions of what these Membranes could do. To form or enclose space, separate panels of fabric are pulled into 3D forms through tensile string. 

To test this, I laser cut millboard into a cube with a surface grid of holes. I could then pull fabrics from a myriad of angles, tying off these tense strings when the fabric has been warped into shapes that I desired.

Prototypes.

Movements.

While the previous study of Form was static, the next step was to prototype methods of creating motion.  This video was one of a series of Movement prototypes that focused on the fluctuations in the spaces formed by adjusting the tensions of various points along the fabric.

This may seem complicated if one were to consider electronics and servos and such, but this stage was mocked up by grabbing a partner to help. Four hands pulling on different strings allowed for a lot of play with the forms without the need for complicated mechanisms. This was an organic process that created shapes and spaces as we coordinated simply by talking.

Prototypes.

Materials.

Firstly, the frame has evolved from a millboard cube to one utilizing laser cut acrylic plates (with holes) separated by quarter inch steel rods. This was a necessary evolution since the addition of moving forces required a more rigid structure.

But more importantly, I tested out various fabric materials for the membrane itself. Early tests used various types of rubber latex sheets. This was my initial membrane-of-choice because of its material properties – because of its flexibility, it would be able to warp dramatically from a flat plane to a tensile form and back. Also, the uniform but somewhat translucent surface would allow for marking or light.

However, issues came about in the attachments to the tense strings. In the image, you can see that the strings terminate in a clasp attached to small metal rings on the latex. This caused a lot of issues since thin latex tends to tear easily. The use of glues to fix these rings did not help. There was a lot of frustration when the membranes would bend and flex and warp – and then snap!

Also, the rubber latex has a lot of tensile force, making it tough on the servos used.

I also tested various fabrics like spandex or jersey, but in the end, nylon (think tights) proved to be the most effective. Nylon was easy to stretch, and accommodated for a lot of stretching. Also, the points of connection did not tear easily.

Prototypes.

Electronics.

Version 01 - Millboard Gearbox

The actual electronic mechanism included an Arduino hooked up to control a series of servos which would rotate to reel in or relax the tension on the strings of the membranes.

Version 01 began with small servos that controlled a wheel to create this reel. This was a good first attempt, but the limitations of the material, millboard, meant that the teeth of the gears would get chewed up rather quickly – it could not handle much tension.

Version 02 utilized a similar setup, though the gears and wheel were now 3D printed for more robustness. This was functional, but the gears would still slip or get chewed up after prolonged usage. Moreover, the size of the wheel meant that the movements of the fabric were rather slow.

Version 03 did away with gears. Instead, the small servos were replaced with heavier duty winch servos and large plastic wheels were used to reel in the strings. This worked incredibly well, and would be used in the final model.

Version 02 - 3D Printed Gears
Version 03 - Winch Servos
Prototypes.

Software.

The actual electronic mechanism included an Arduino hooked up to Rhino3D (modeling software) through Grasshopper (scripting plugin) to control the servos.

This involved an understanding first of how these fabrics might be pulled. For these simulations, I employed the Kangaroo plugin for Grasshopper, which allowed me to manipulate forces. I used this to simulate tension on simple planes. 

Arduino interface.

This provided a framework for Grasshopper manipulation. Having wired up the servos to the Arduino interface, I was able to then calibrate the movements with the the physical model. This involved testing the amount of movement required for tension and the rotations of the servos – this resulted in a lot of snapped wires and torn fabrics.

Grasshopper Visual Coding.
Prototypes.

Inputs.

Tablet touch input.

To allow for user interaction, I needed to provide a more intuitive interface – the controls in Grasshopper amounted to onscreen adjustment of sliders.

To enhance this (and have a little more fun), I used two different techniques. 

The use of a touch enabled midi app on a tablet allowed for a large and simple control surface that was completely wireless. This was great for presentations as I could pass around the controller for users to try.

Microsoft’s Kinect camera, designed for their Xbox gaming system, provided an incredibly effective depth camera for consumers. I took this opportunity to incorporate Kinect’s skeleton tracking into Grasshopper. By tracking the user’s hands, I coordinated hand movements to servo interactions.

Kinect skeleton tracking.
Prototypes.

Putting it Together.

The final Kinetic Membrane exhibit was the result of multiple prototype iterations and both software and input tests. This was an incredible experience to bring together studies in multiple media into a conceptual installation suggestion the possibilities of fluid and organic architectural interventions.

Back